How to make wood lighter in color
-

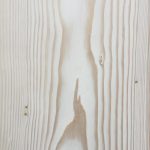
- Cypress Pine Before
-
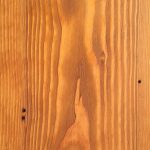
- Cypress Pine After
After 30 years in the business of wood, in all its forms and functions, without any reservations, there is only one way to accomplish the task. Bleaching!
It has become an essential tool in the woodworkers kit as many artisans of the trade have found out. Solves many problems such as,
-
Removing the red from a Jarah, Blue Gum or Ironbark Flooring.
-
Balancing out the color of veneers in furniture and cabinet making.
-
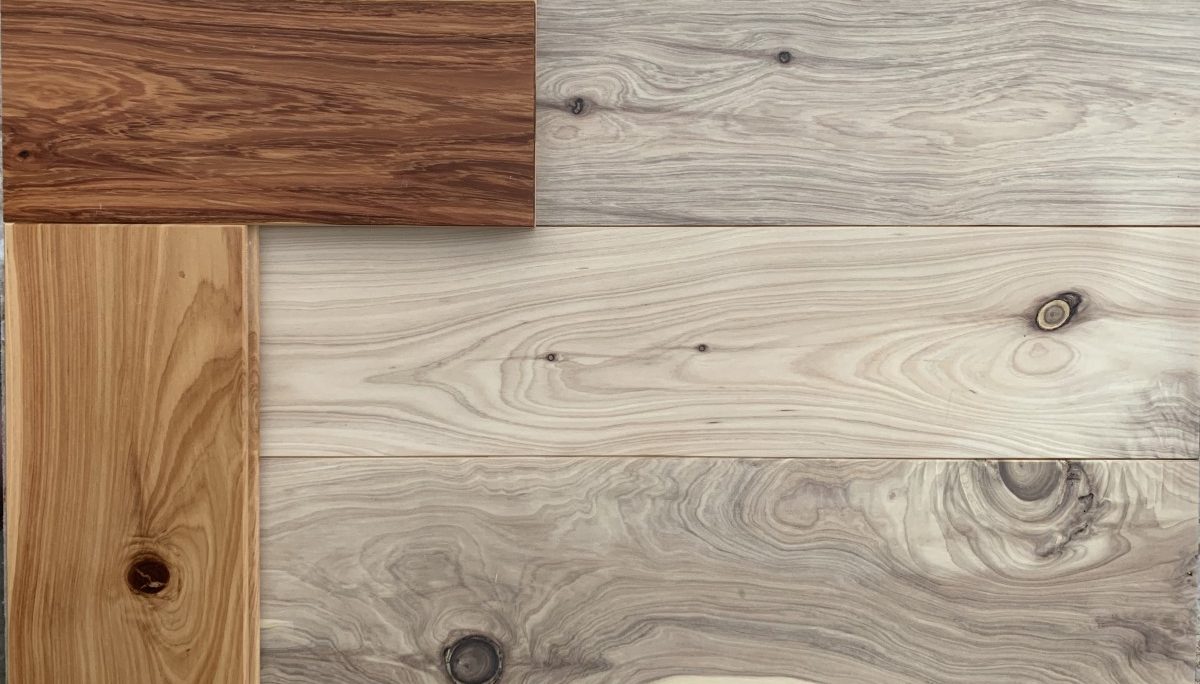
Matching different species of timber to blend them in.
-
A whole fitout of wrong color or missmatching timber can be transformed on site.
-
Purge natural color to allow stains & dyes to pop.
-
- Bleached Walnut Dresser
All over the internet, you will find various products and methods peddled, claiming to be a wood bleach. Chlorine bleach is a water solution of sodium hypochlorite that is your common household laundry bleach, typically 5-6 percent sodium hypochlorite. This will only remove a dye stain from wood, not the natural color. Oxalic acid is used mainly for removing tannin and rust stains from various surfaces.
There is only one type that works to remove the natural color extractives from wood and that is the 2 part system. The same method used to bleach pulp white in paper manufacturing.
Part A of most systems on the market will generally contain a weak aqueous solution of (1) Sodium Hydroxide (caustic soda), also known as lye, used in drain cleaners and soap making. (2) Sodium Silicate commonly known as water glass is made from Sodium Hydroxide and Silica Gel. (3) A combo of both. Another nasty little chemical used by the DIY is Ammonia. These chemicals are toxic and should only be handled by politicians and bankers.
Part B, of course, is always a weak aqueous solution of Hydrogen Peroxide. Now, most of these systems require you to mix the two solutions together and then apply it to the wood. Because they are supplied in such weak solutions you have to repeat the process many times to get the desired result. The reason being, the toxic gas created from the reaction of stronger solutions. Without a full-face breathing apparatus and oxygen tank, you will asphyxiate and die.
There is one product available called LiteniT, who's part A is non-toxic and supplied at full strength. So the reaction is not only efficient, it is safe as only oxygen is produced. As not all applications require a super powerful bleaching event, Part (B) can be diluted with water to reduce the bleaching effect. So far, LiteniT has been able to remove the natural color of any wood we have thrown at it.
-
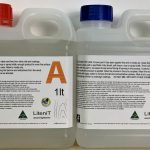
- LiteniT 2lt kit
-
- Douglas Fir after LiteniT
-
- Douglas Fir before
https://oaktimberflooring.com.au/product/litenit-wood-bleaching-color-removal-system/
Preparation.
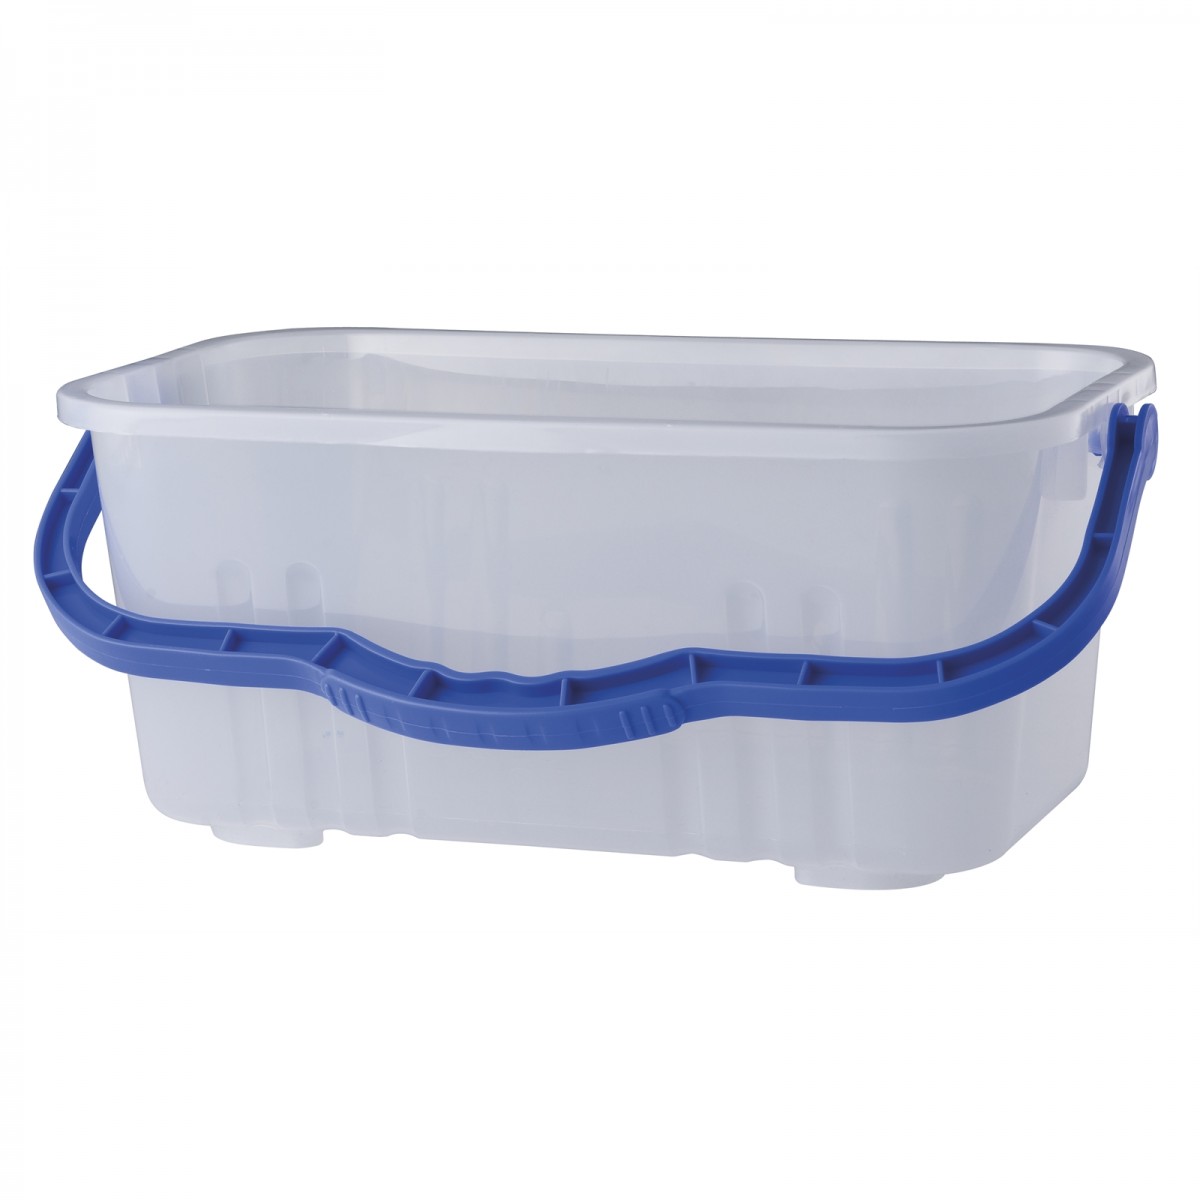
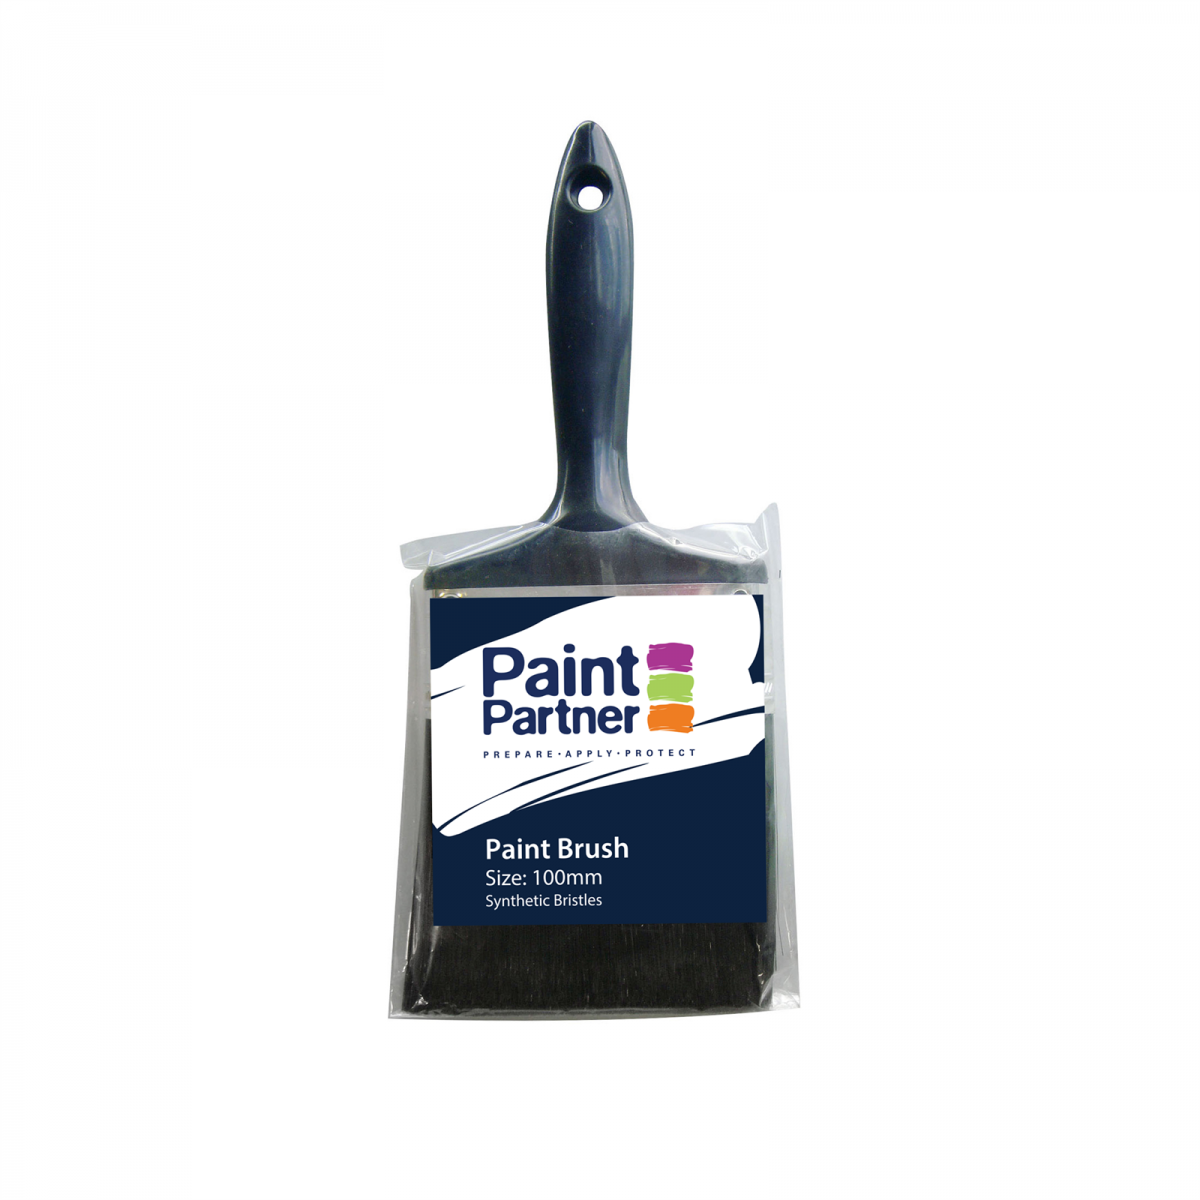
Pictured are the basic tools required for timber flooring.

The wood you are planning to bleach should be bare timber. Clean, dry and free from coatings, sealers, oils & waxes.
If a filler is required, such as nail holes or butt joins in floors, waterbased fillers like timbermate will get blown out of the holes as they absorb the mix. Some form of epoxy like filler is needed so that it is waterproof and won't crack and fall out.
Highly recommended with top nailed floors as the rust from nails will cause the black ferrous stains around the nail holes.
We use a mix of solvent-based polyurethane and cornice cement.
It makes an off white color which can be too light in some applications. So we use a very small amount of Raw Umber paint tint in the mix to make it a bit darker.
This way, any cracks, nail holes, butt joins, etc. are waterproof.
You can punch out your floor then fill. when it's dry, sand the floor as normal.
Most of the time with top nailed floors we trowel fill the mix as its faster. This is a must when preparing block parquet for bleaching.
-
- LiteniT 2lt kit
-
- Douglas Fir after LiteniT
-
- Douglas Fir before
How to Apply LiteniT.
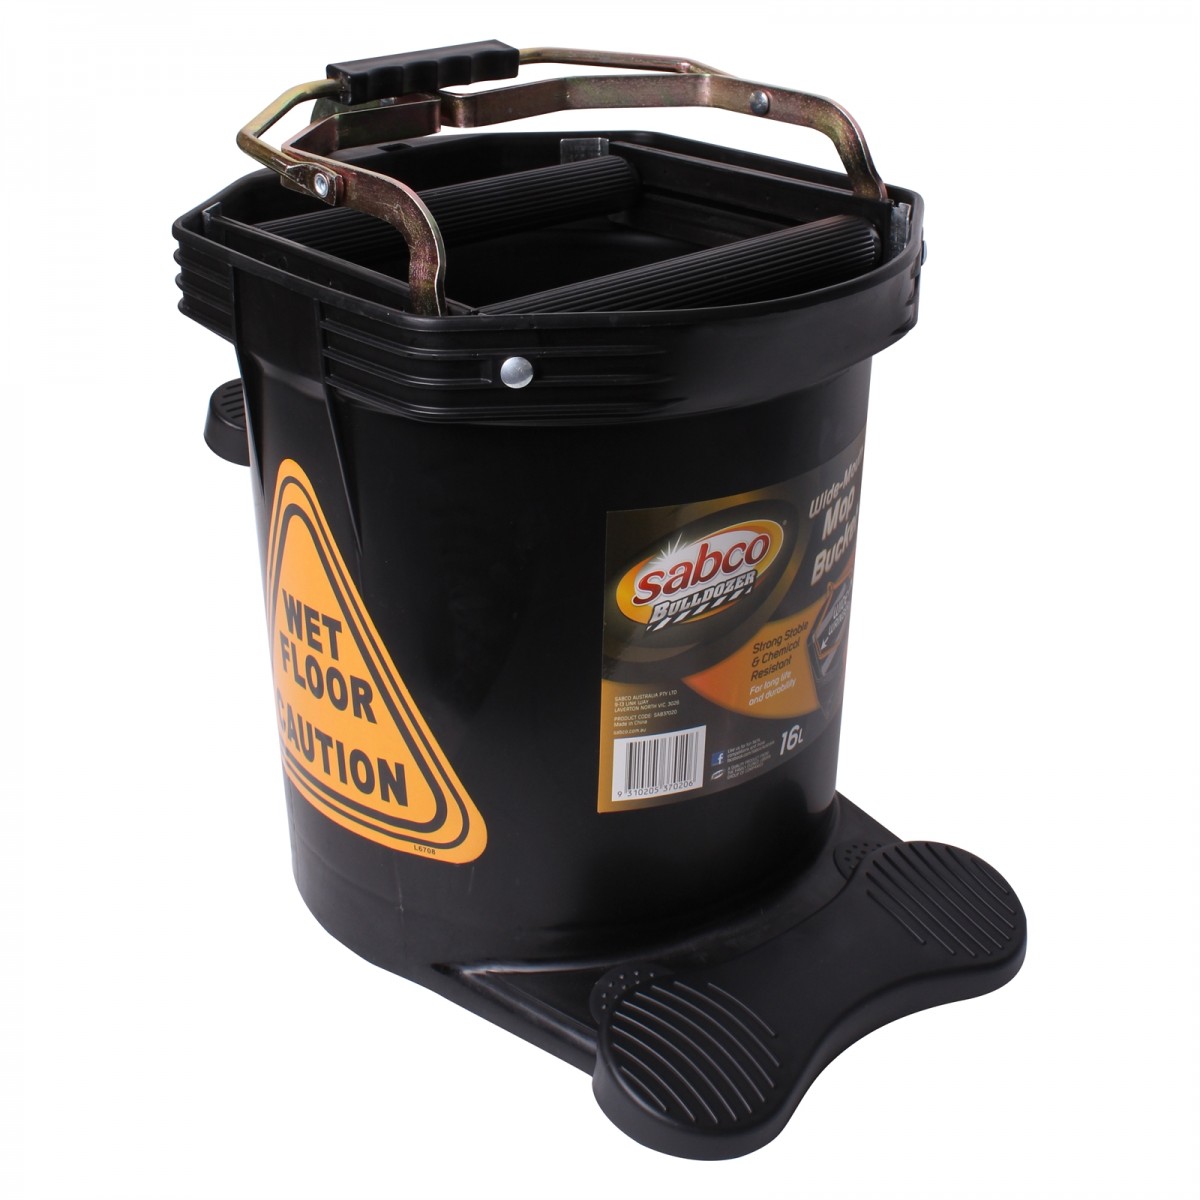
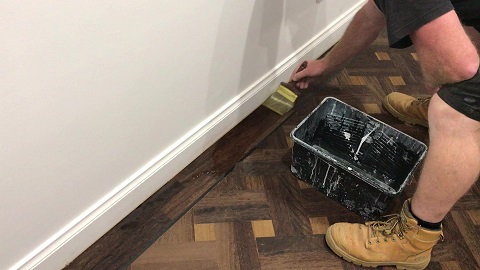
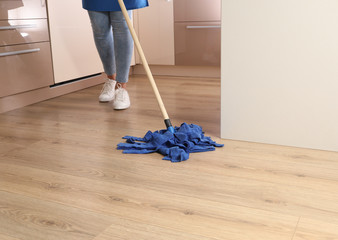
Part (A) is the activator. Its job is to pull the tannin and natural colour from the wood to the surface. So expect the wood to go darker in colour when Part(A) is applied. Use a brush for small areas like furniture, benchtops or stairs as if you put on a coat of varnish. A separate spray bottle for each part may be used as well. For larger areas such as floors & decks, cut in with a brush and use a string mop and bucket to apply as if you were washing the floor. (fig. A&B) Pump sprayers (weed sprayers) can work well too. Especially for vertical surfaces.
Don’t miss any spots and wipe over any areas that have pooled with the product. Allow the’ surface to mostly dry before applying Part (B). It does not need to be bone dry and don't leave any longer than 24hrs as it will start to weaken.
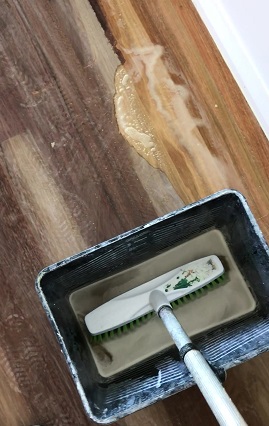
Apply Part (B) Same as Part (A) and be sure to apply plenty of product. A medium house broom is ideal for applying Part B as it works just like a big brush. Again, apply plenty of product and work it in with the edges so as not to miss anywhere. Try to keep to a spread rate of 10-12m2 per litre. (fig. C&D) You can walk on the floor after you have applied part (B) and have a look around to see if there are any spots that may need some more. Its good practice to broom over the whole floor area to help even things out. Just make sure you broom over your footprints as you walk out.
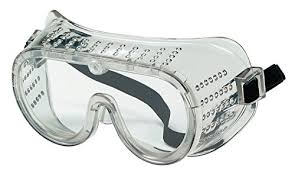
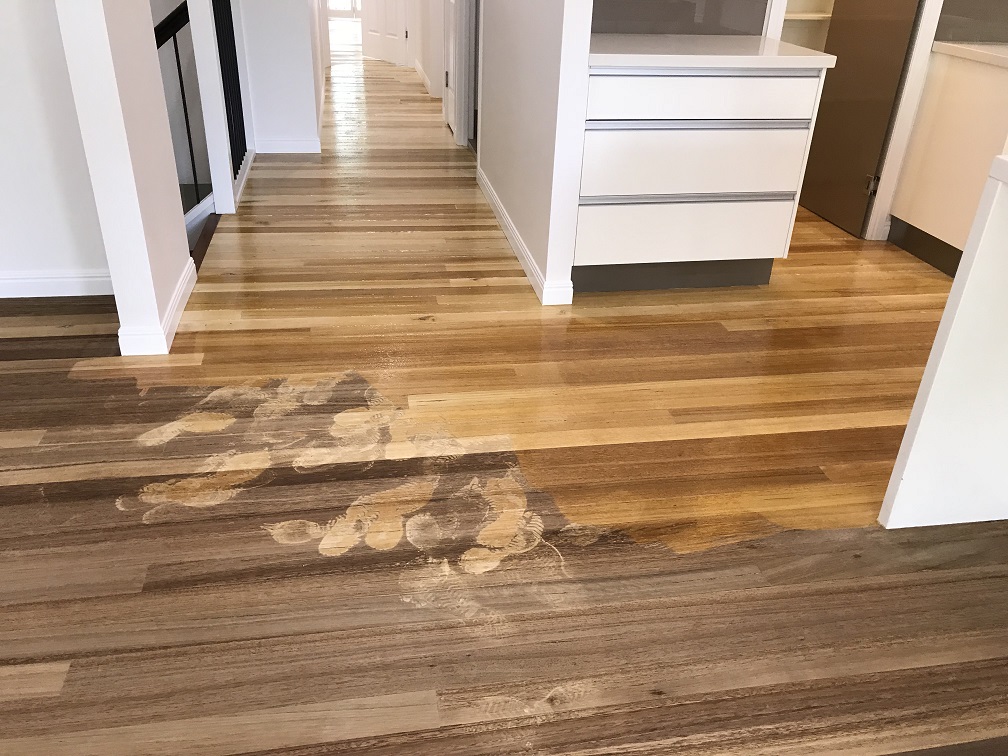
Be careful with Part (B) always wear rubber gloves and eye protection around bleaches. Where possible, try to have windows and doors open for airflow. Confined spaces will require a respirator to be worn as the strong oxygen from the reaction is too much for normal breathing. Application of Part (B) starts to bleach the extracted tannin and wood fibers, almost immediately. You may notice some fizzing & foaming from the reaction and the color changing rather quickly. This is normal. The color may look yellowish as the wood is wet. (see fig. E) This will change once the wood is cleaned and dry.
After Part (B) is applied, leave it to work for at least 3 hrs. By then it will have done its job. Smaller items like furniture can be treated outside in the sun. The process activates more vigorously in the warmth of the sun.
Cleaning/Neutralizing
Your next and very important step in the process is cleaning the wood surface to remove all the tannins, extractives & residues from the bleaching process. No coatings or finishes at all will stick or cure on the surface without cleaning. Use LiteniT wood cleaner in the water on the First Wash for neutralizing and removing tannin & ferrous stains. Second Wash with fresh water in the bucket, wring out the mop and clean up the rest of the floor area. Stopping every 20m2 or so to refresh the water as it gets rather dirty. Or a floor scrubber if you have access to one. Then do the edges by hand with a microfibre cloth to get in close to skirting and corners.
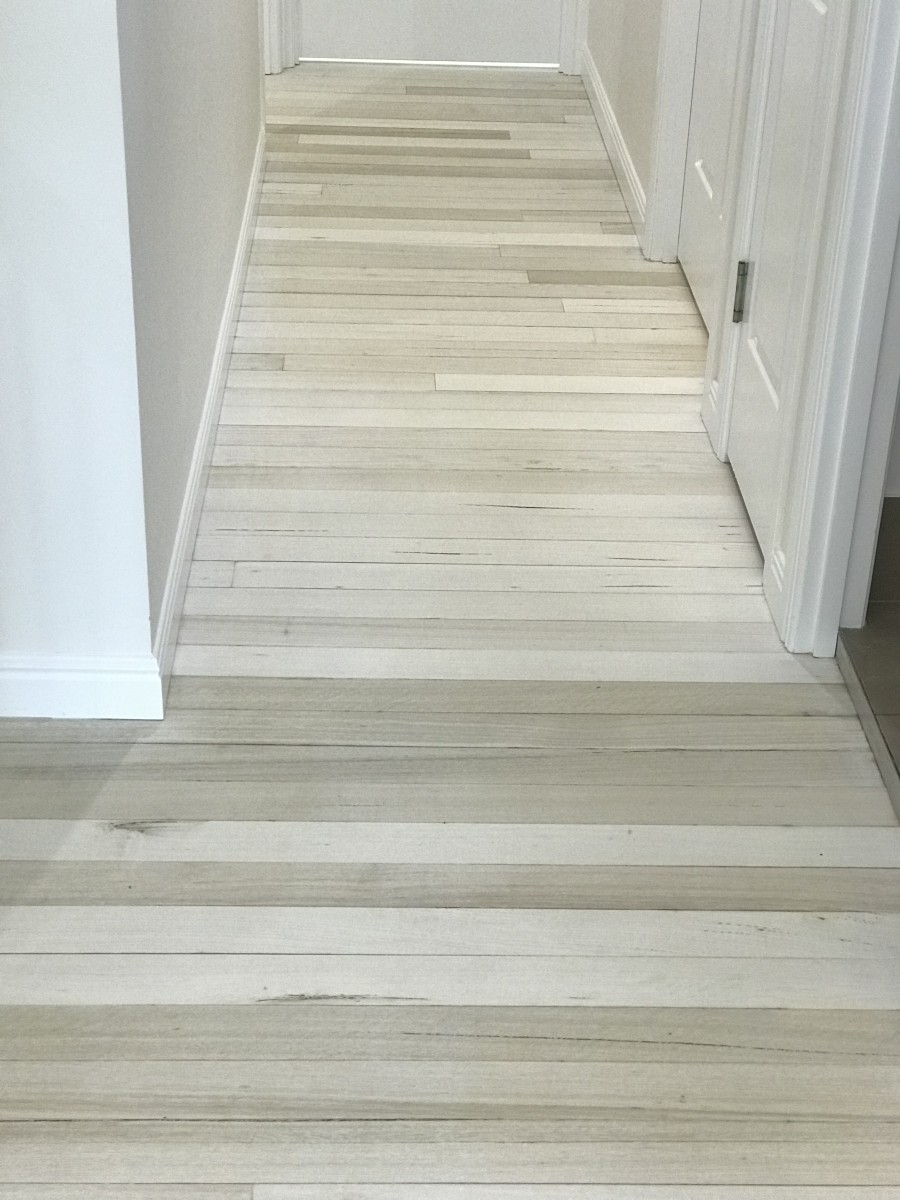
For Decks, use a stiff broom and the water hose. Smaller applications may be done with absorbent cloths. Once the wood is dry from cleaning, this is the level of bleaching achieved. Once the job is clean and you notice some missed spots, just apply some more Part(B) with a brush. Leave for 60-90 mins, then clean these spots as before and allow to dry.
The result will be just clean, dry wood with the natural color removed. So good for red floors and mixed species. Removes the red and really evens out the color variations if you want to stain it. Just make sure the wood is completely dry, then the bleached wood may be finished with any wood washes, stains, waxes, oils and water-based clear coatings you prefer. Some timbers like Tas. Oak, American Oak, Blackbutt and the like may have some standing grain. Use a worn 220 grit screen back or 320 grit paper just to denib the wood before coating.
Some species of wood may require a repeat of the process if they are really dense like Grey Gum or notably high in tannin colour like Merbau.
COVERAGE: 10m2 per litre for each part.
COST: about $4/m2 for product.
SKILL LEVEL REQUIRED: LOW
DO NOT USE OUTDOORS IF RAIN IS EXPECTED WITHIN 4 HOURS.
WARNING: DO NOT MIX PART A & PART B TOGETHER IN THE SAME CONTAINER.
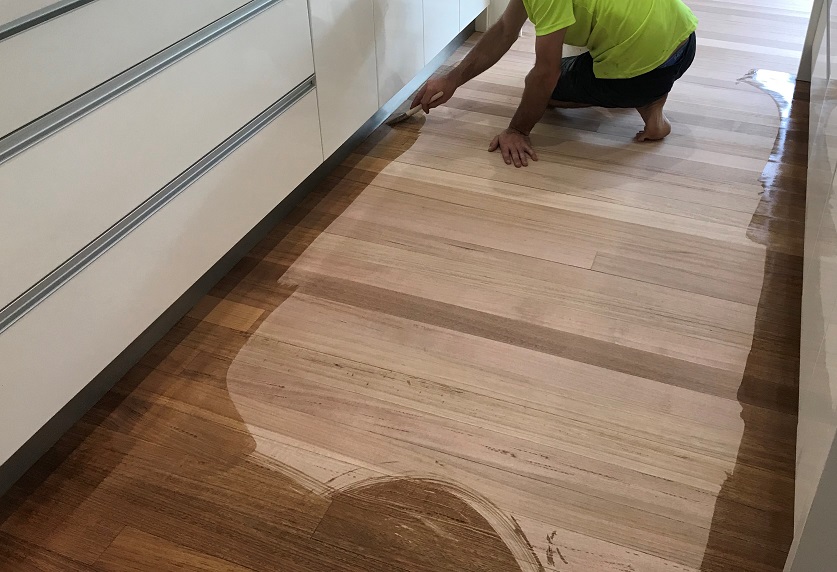
fig. (A)
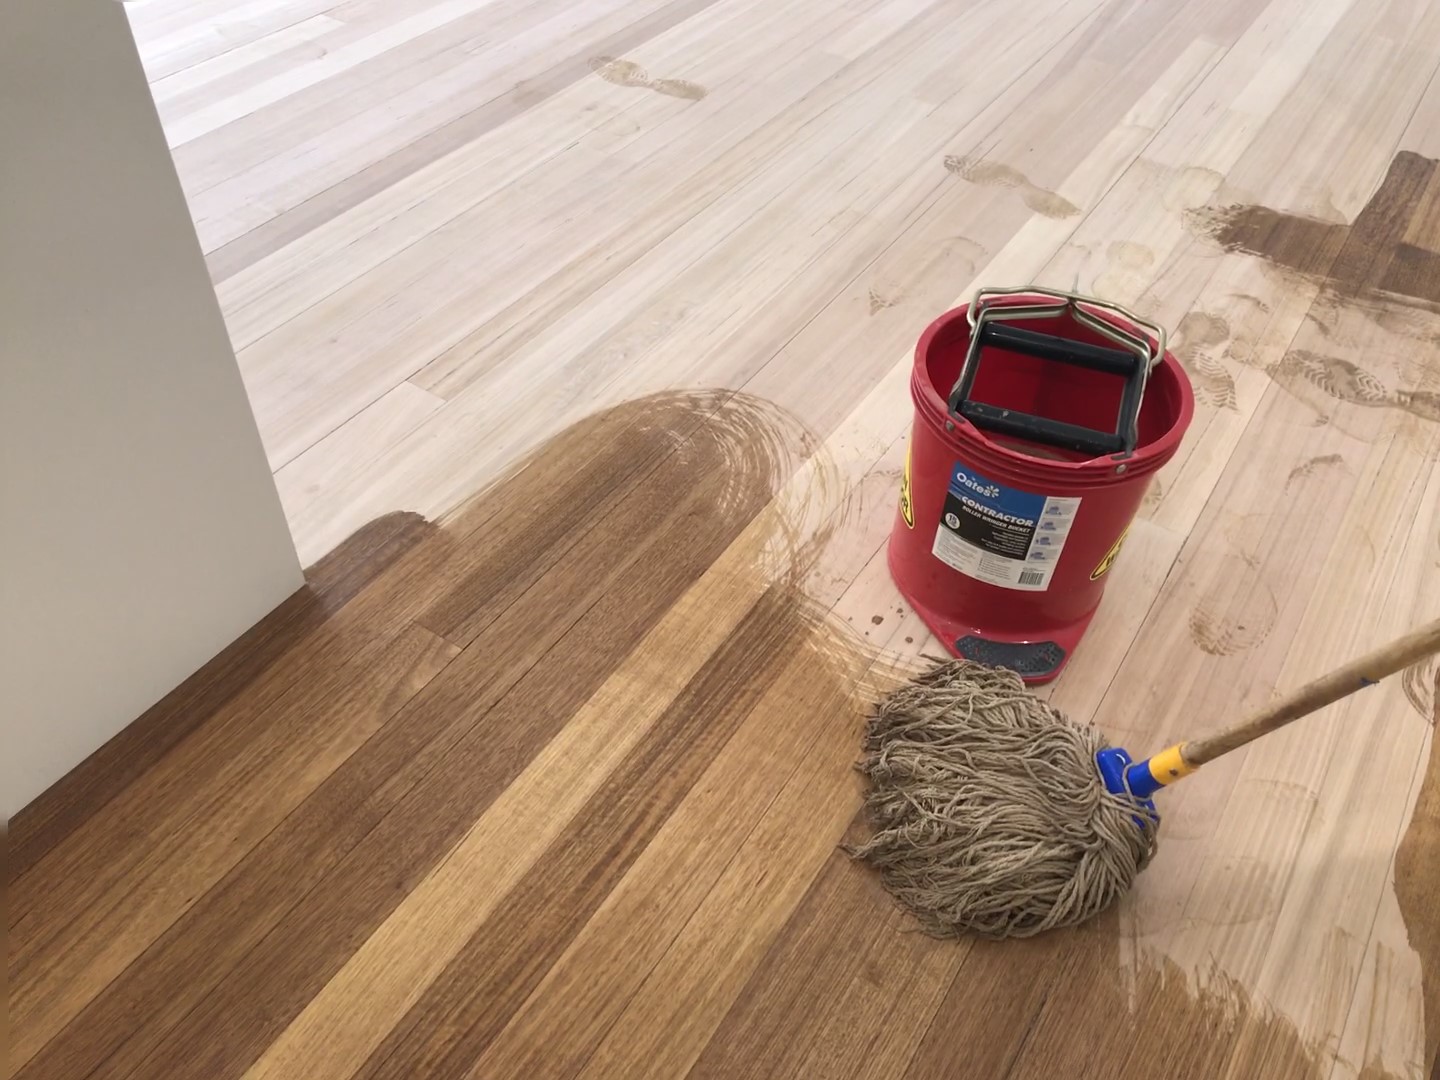
fig. (B)
(fig c)
(fig D)
(fig. E)
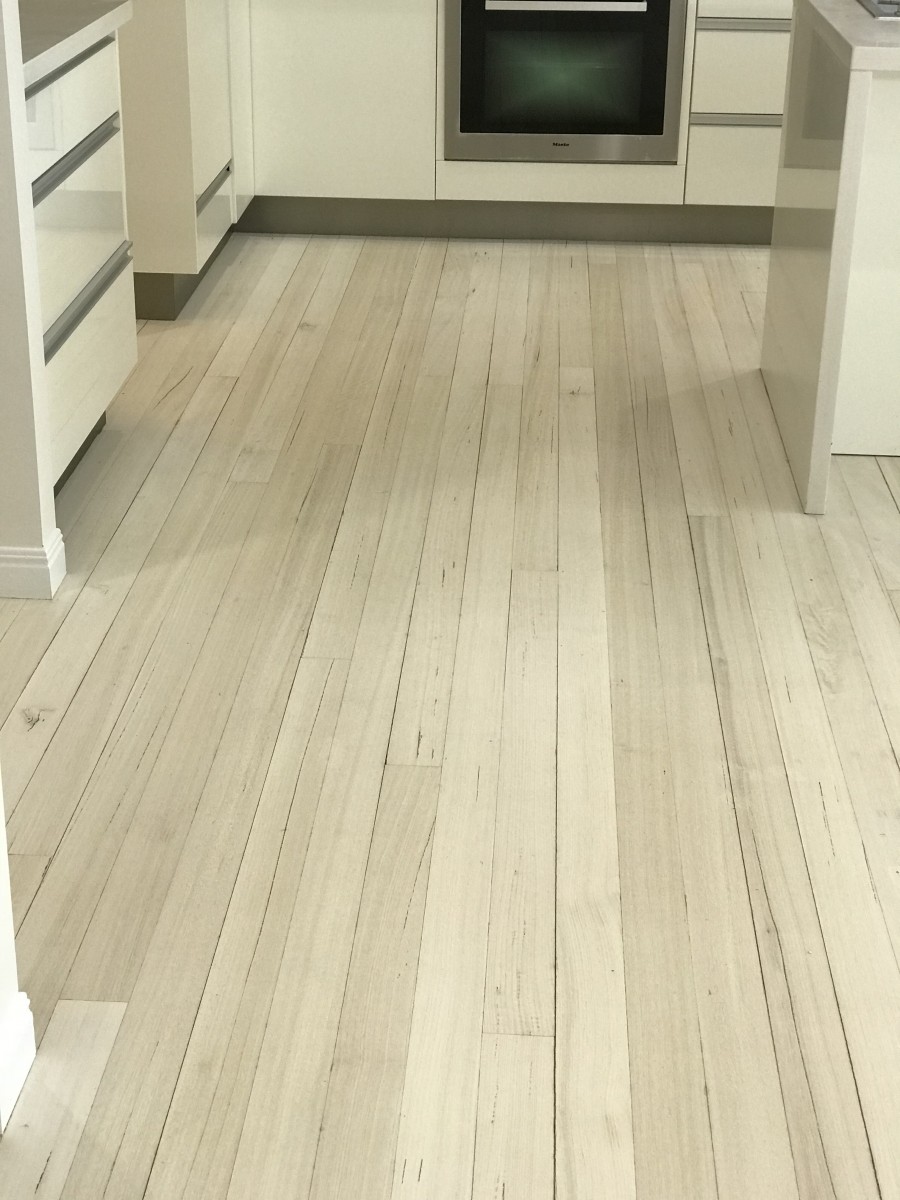
Cleaning the wood
This old Tas oak floor was finished with a white tinted water based, 10% gloss.