
How to Bleach Wood Flooring & Decks
Please read and follow these instructions carefully to obtain the best result.
All wood flooring may be bleached with LiteniT. Including engineered floors that have at least a 3mm veneer top layer.
Sanding: All floors need to be sanded back to bare wood free from coatings, sealers, oils & waxes with standard floor sanding procedures ending on a 120 grit screenback.
Topnailed floors must be nail punched first and a waterproof filler is required for nail holes or butt joins in floors. The existing filler will be the wrong colour match for the bleached wood. Water-based fillers like Timbermate will get blown out of the holes as they absorb the mix. Some form of epoxy-like filler is needed so that it is waterproof and won't crack and fall out.
Highly recommended with top nailed floors as the rust from nails will cause the black ferrous stains around the nail holes.
-

- water based filler blows out
-

- trowel fill
-
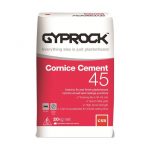
- cornice cement
We use a mix of solvent-based polyurethane and cornice cement. Do not use water-based or oil-based polyurethanes for this mix as it won't work. Use one similar to Polycure Durapol 1044, fibreglass resin or any epoxy with a suitable light colour.
-
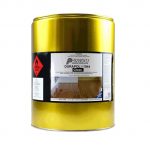
- Polycure 1044
It makes a creamy color which will suit most timbers. Some older and dark Jarrah floors may need a very small amount of Raw Umber paint tint in the mix to make it a bit darker.
This way, any cracks, nail holes, butt joins, etc. are waterproof.
You can punch out your floor then fill. when it's dry, which will take a few hours, sand the floor as normal.
Most of the time with top-nailed floors we trowel fill the mix as it's faster. This is a must when preparing block parquet for bleaching. If you don't fill up all the gaps in the blocks you will have black stains appearing after a water-based finish is applied.
Bleaching process
Safety first: Make sure you are wearing covered footwear (no thongs or jandals).
Disposable gloves and eye protection.
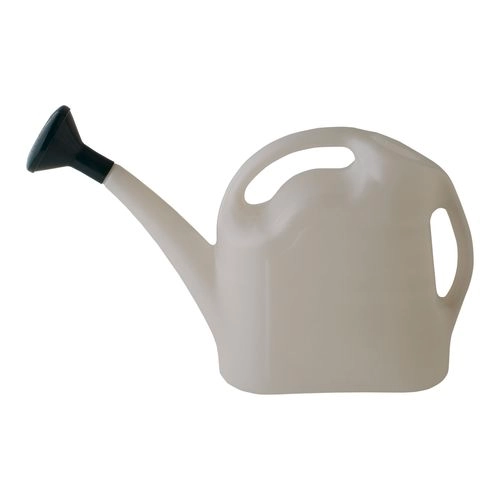
Mix equal amounts of Parts A&B together in a plastic watering can.
Pour 500ml of this into a plastic container to use with a synthetic paint brush to cut in the edges and corners of the room first.
Be careful not to get it all over the skirting or walls as the solution will bubble water-based paints.
Pour from the watering can a puddle directly onto the floor about 500ml-1liter.
Use the flat mop applicator to spread the solution around the floor as far as it will go.
Be sure to blend it into the edges. Just repeat until the whole room is coated.
Just work on one room or area at a time.
Once all the rooms are coated, go back to where you first started and use the flat mop to wipe over the floor again. Get as close to the edges as you can.
What this does is redistribute the solution around the floor to keep it active and help to achieve an even result. Try to repeat this every 30mins or so for about 3 hours.
If you have very dark or dense timbers like Jarrah, Tallowwood, Greygum, Merbau & Kempas. You need to apply 2 coats of the solution. 90 mins after the first coat, apply the second one the same way. You should not need to cut in again around the edges. Just get the applicator as close to the edge as you can. Again, wipe over the floor every 30 mins or so.
Tip for Missed Coating: While applying the bleach and you notice some patches of the old coating on the floor not removed by sanding. Use a wire brush with the direction of the grain while the wood is wet with product. This will pull out the old coating.

cut in with a brush
use a string mop and bucket to apply Part A.
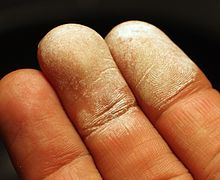
Part (B) Be careful with Part (B) as it is a strong oxidizer and will burn your skin. If your skin comes into contact with Part (B), rinse well with fresh cold water. The white marks will disappear in a few hours.
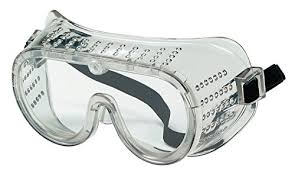
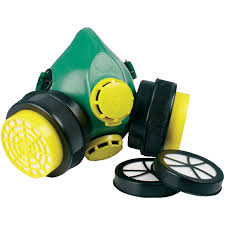
Always wear rubber gloves and eye protection around bleaches. Where possible, try to have windows and doors open for airflow. Confined spaces will require a respirator to be worn as the strong oxygen from the reaction can irritate the sensitive membranes in the eyes, nose and throat. Similar to swimming in a pool with high-level chorine.

Black mould stains discovered when walls or cabinets are removed, will not sand out. They will bleach out with LiteniT. During the normal process of bleaching, you just need to hit those dark stains a few extra times with parts A&B consecutively until they go.
Cleaning/Neutralizing
Your next and very important step in the process is cleaning the wood surface to remove all the tannins, extractives & residues from the bleaching process. No coatings or finishes (in particular water-based) will not stick or cure on the surface without cleaning.
First: Use LiteniT wood cleaner for neutralizing and removing tannin & ferrous stains. Mix with water as directed and apply a coat of it over the floor without drowning it. Use a brush to get close to the edges and corners. You can use the watering can and applicator or a mop and bucket.
Second Wash Rinse out your mop and bucket first. Now, with fresh water in the bucket, wring out the mop and clean up off the floor all the residue. Stopping every 20m2 or so to refresh the water as you will see it gets rather dirty. Or a floor scrubber if you have access to one. Then do the edges by hand with a microfibre cloth to get in close to skirting and corners. For Decks, use a stiff broom and the water hose.
Once the wood is dry from cleaning, this is the level of bleaching achieved. Once the job is clean and you notice some missed spots, just apply some more Part(B) with a brush. Leave for 60-90 mins, then clean these spots as before and allow to dry.